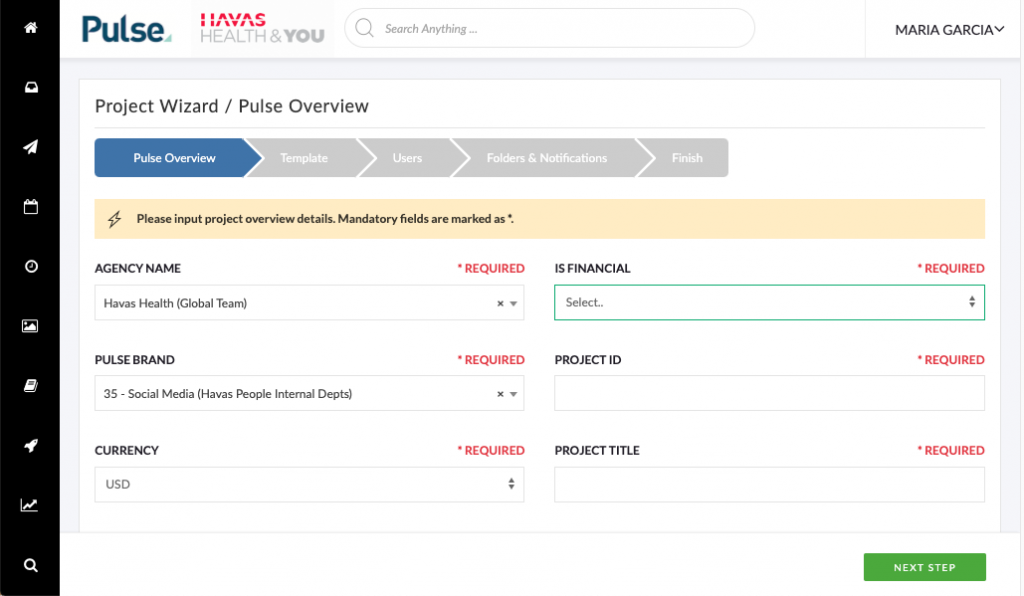
- Go to https://havaspulse.com/v2/project-wizard
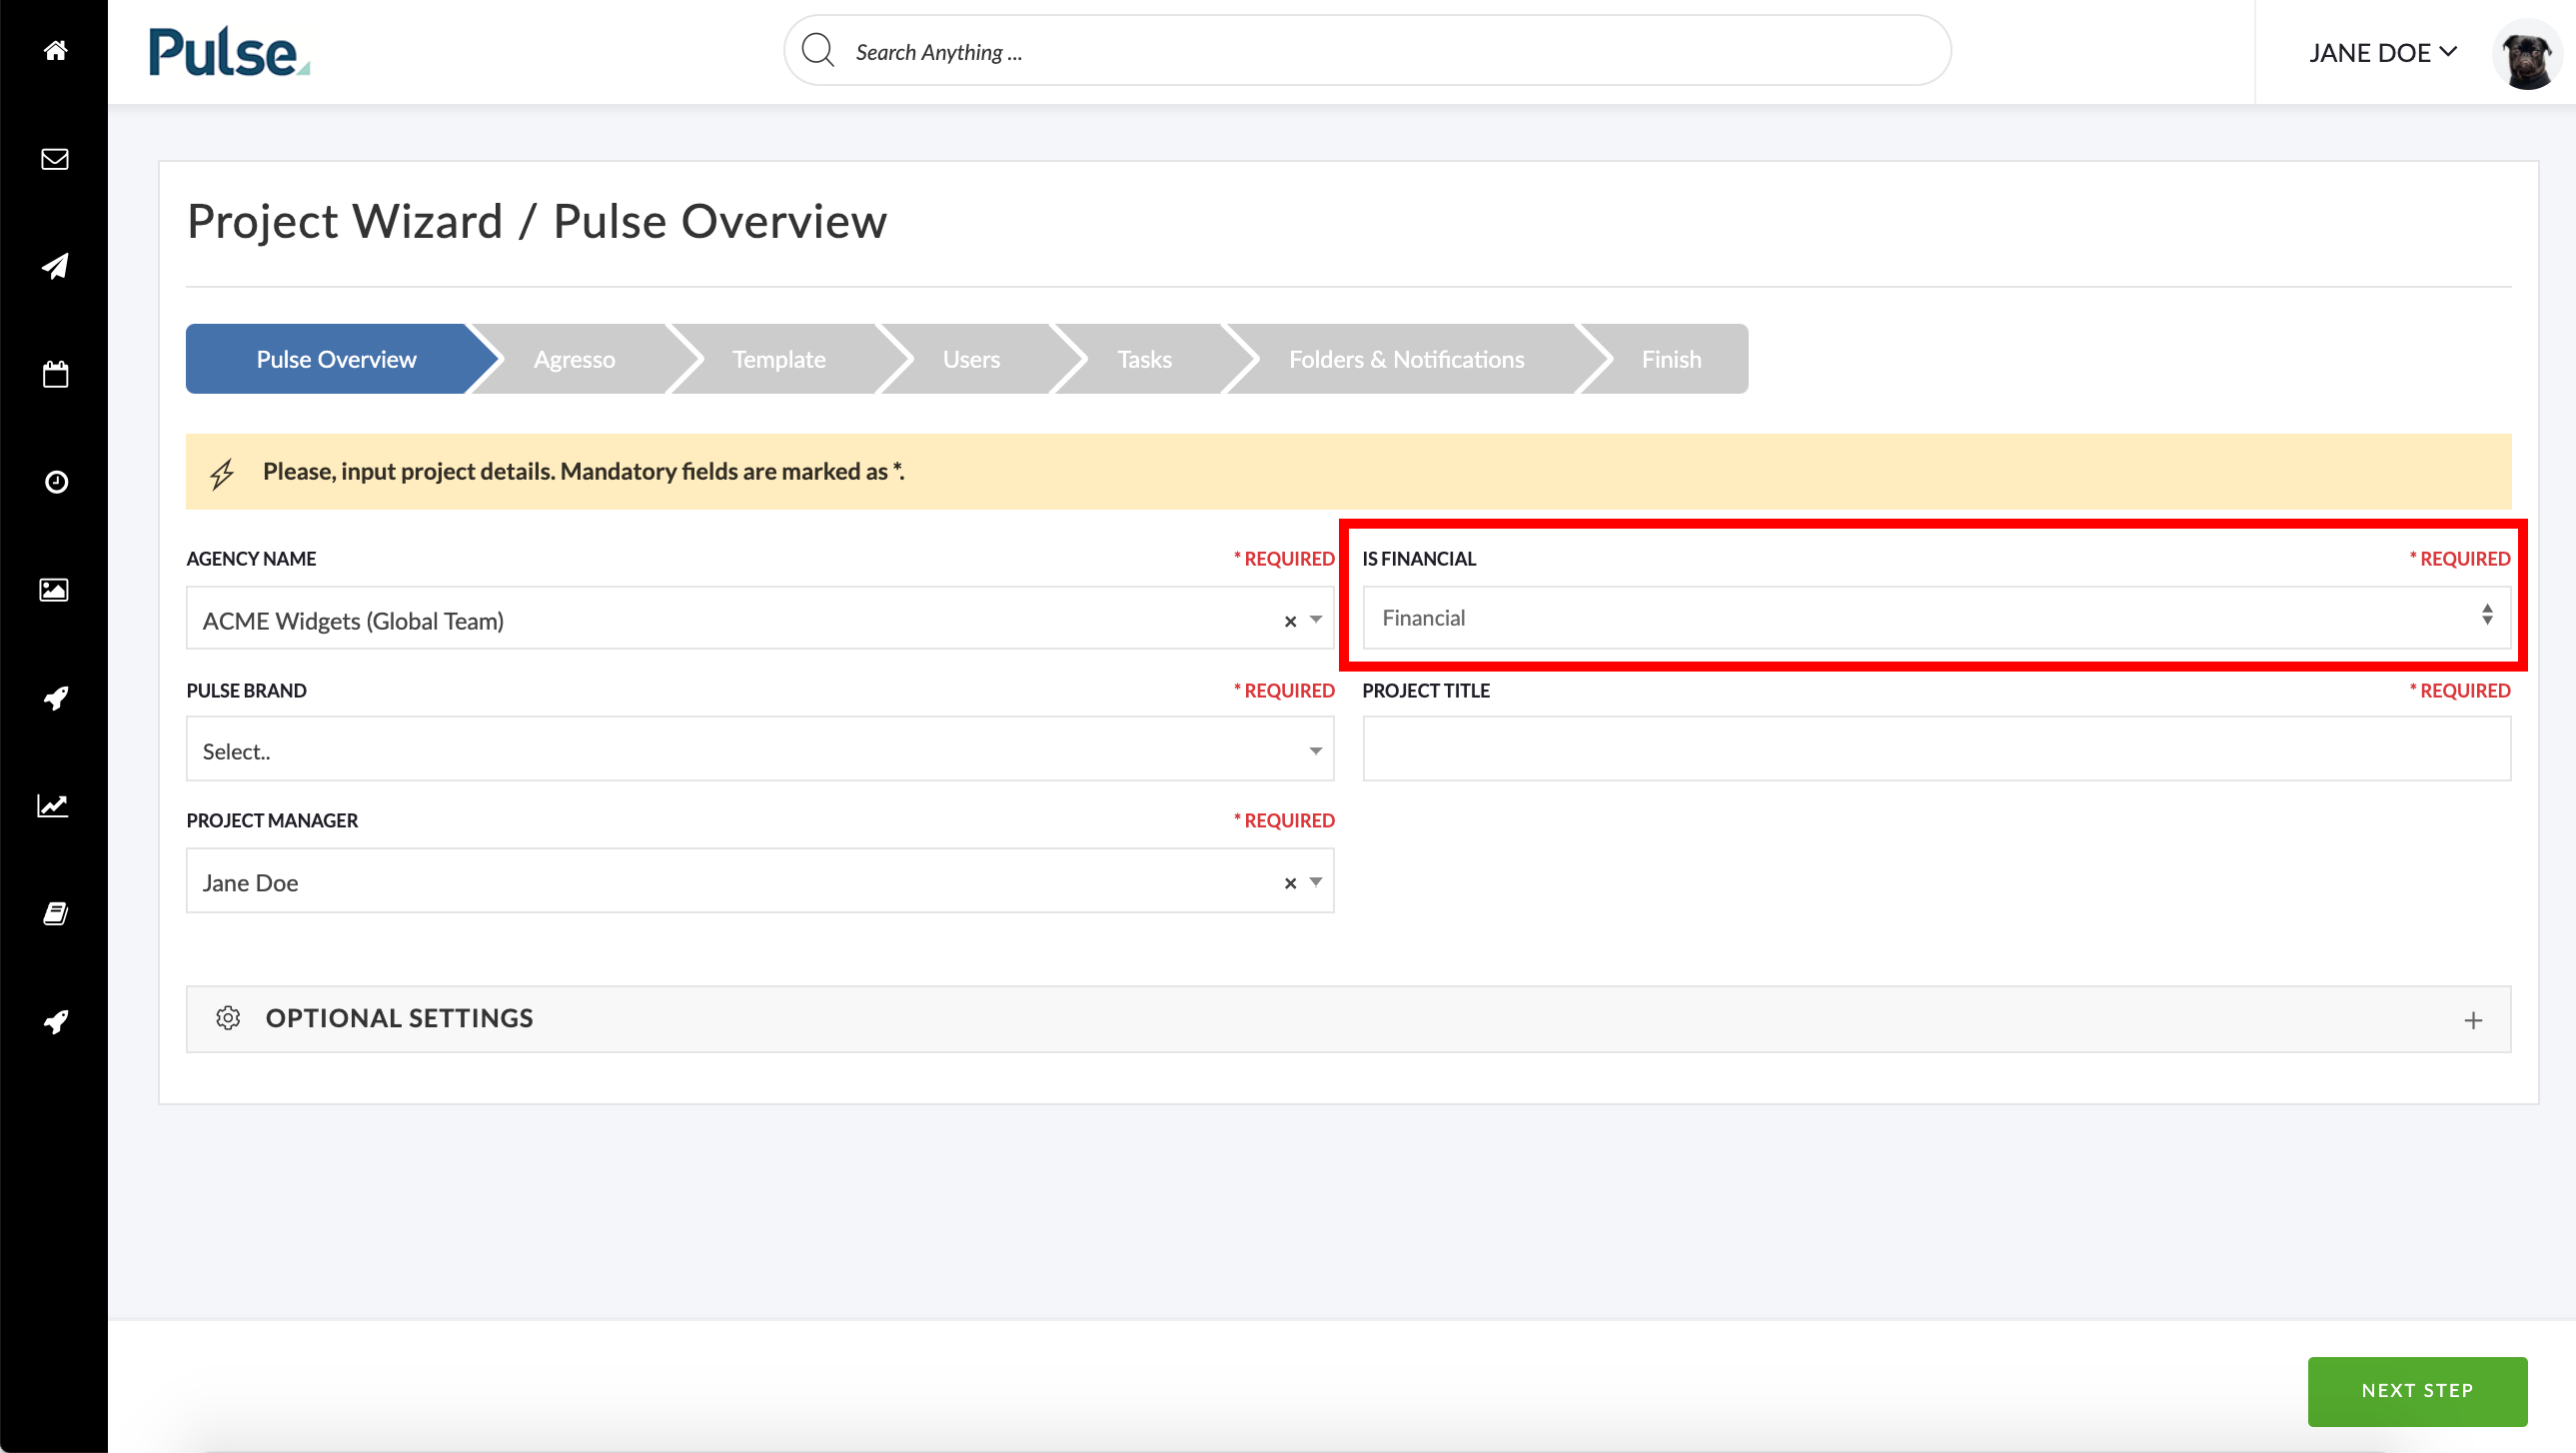
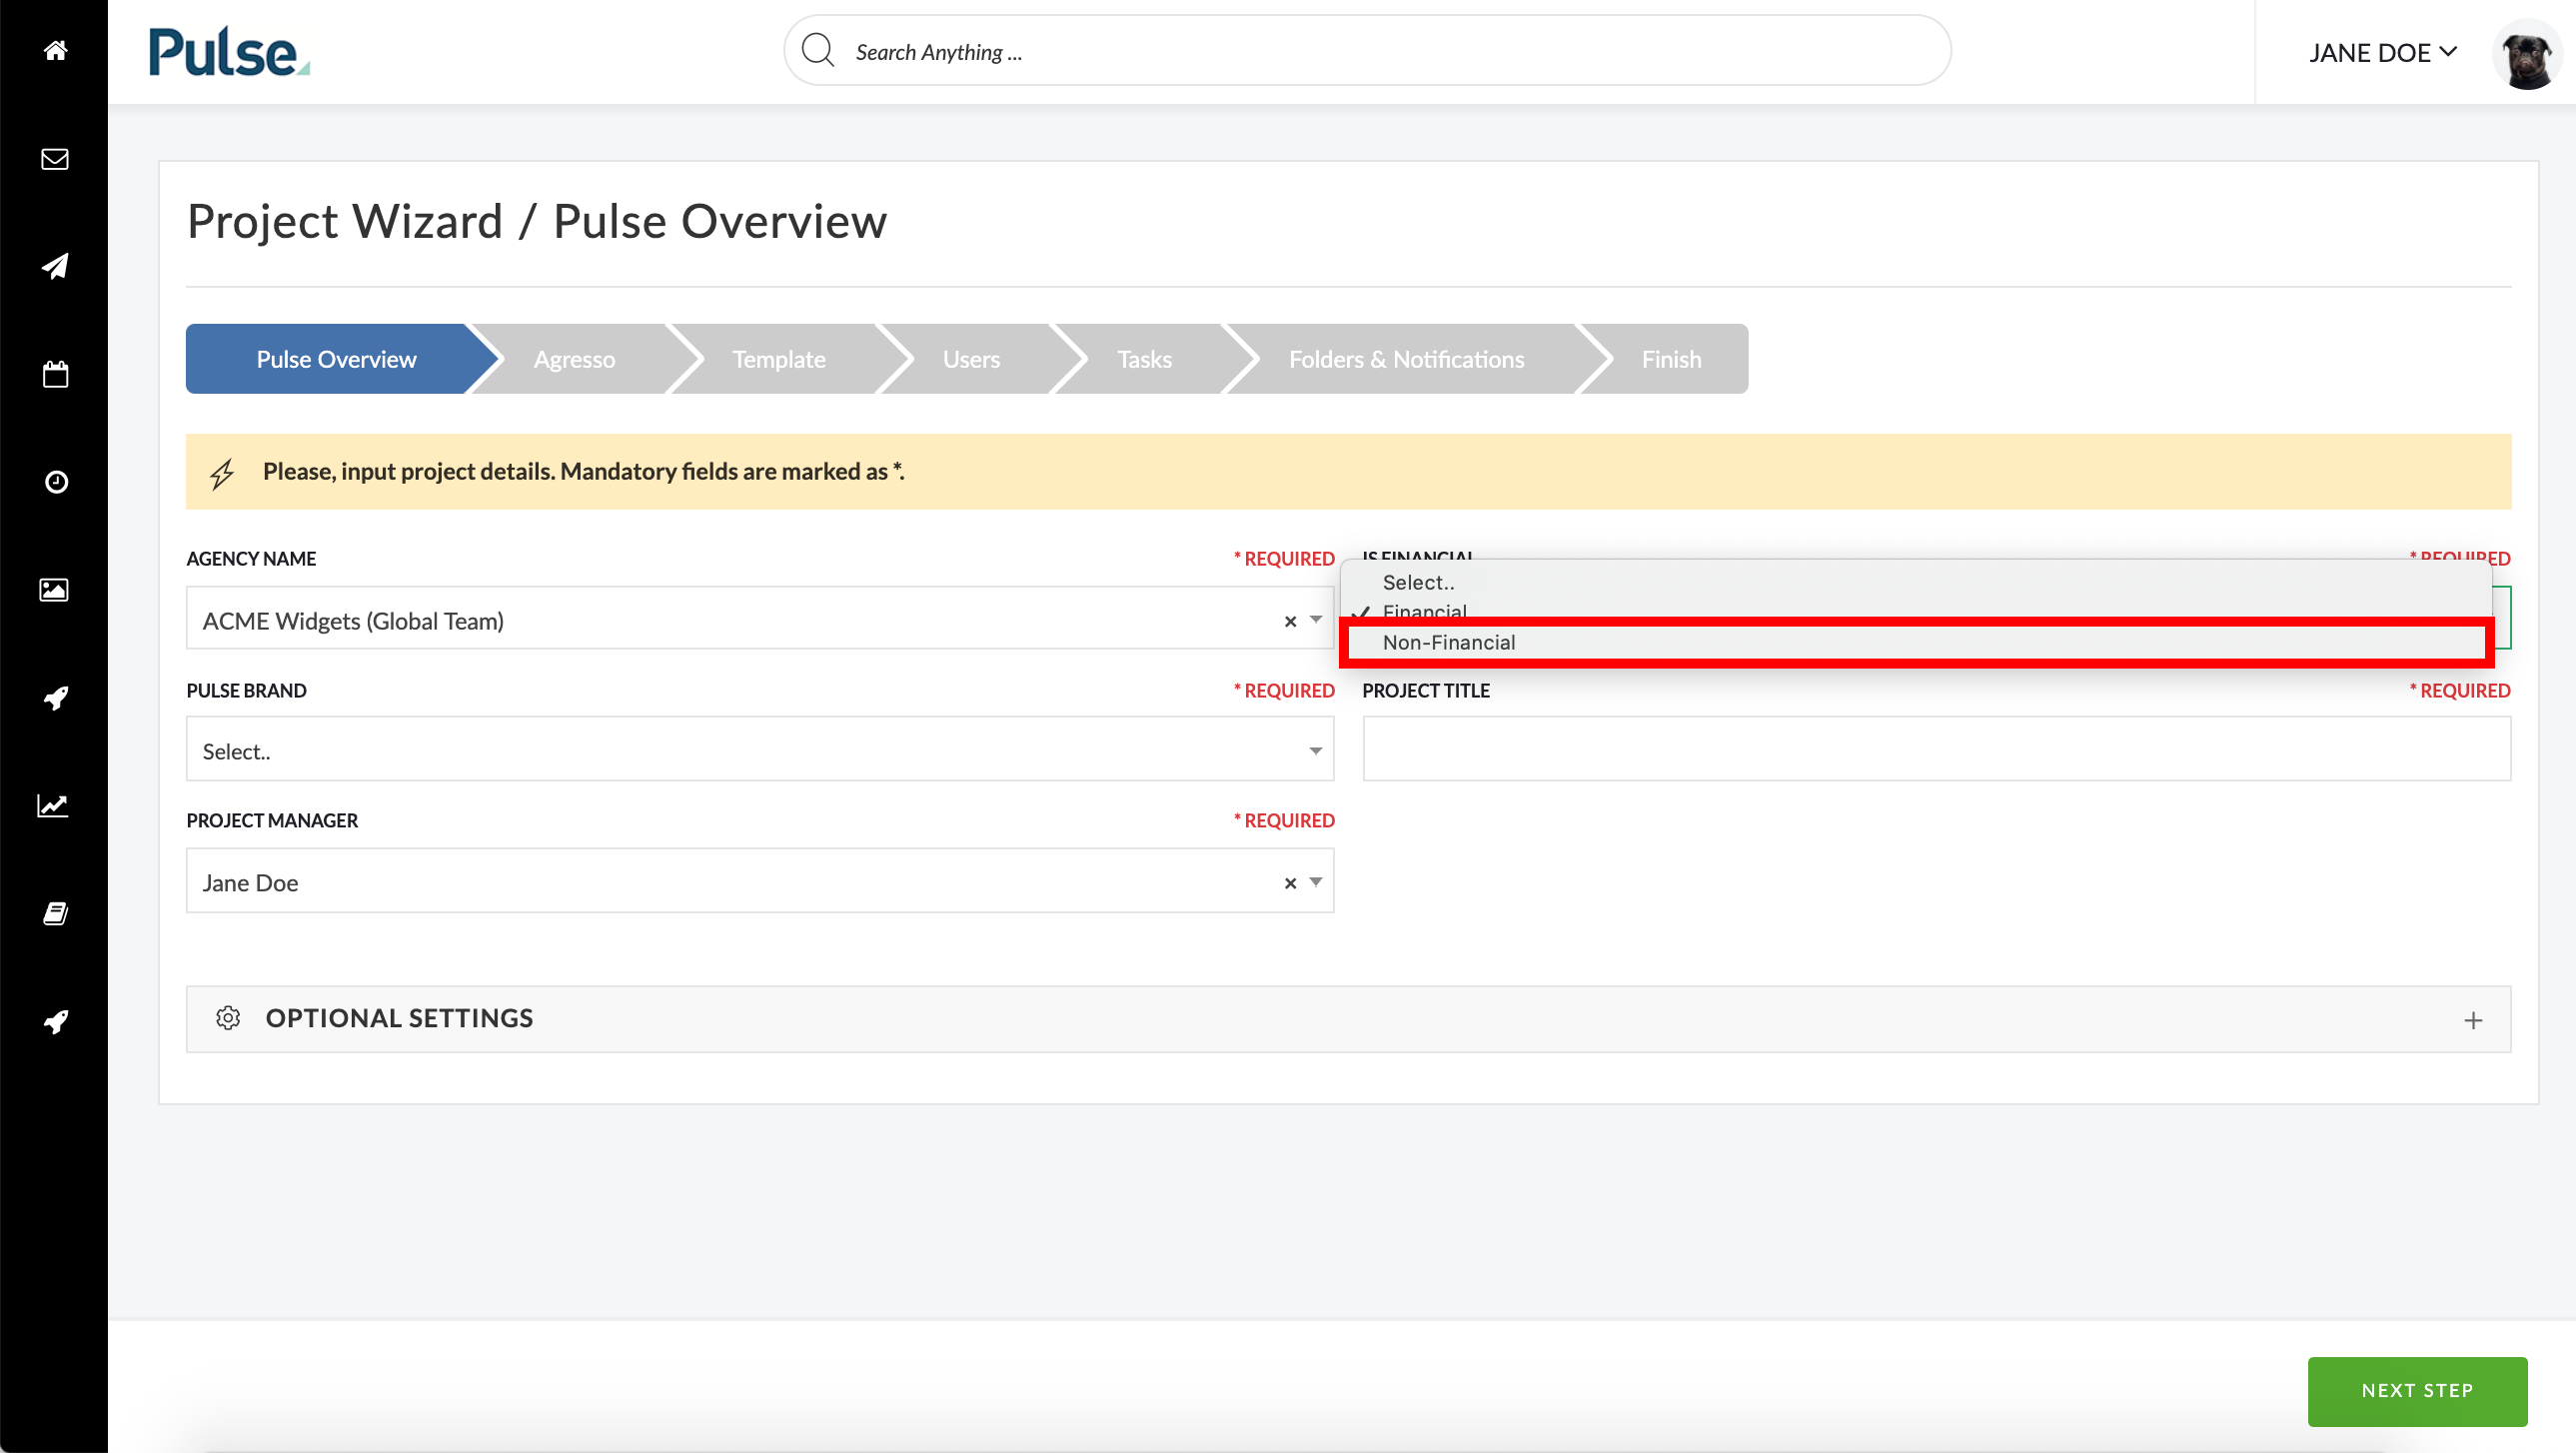
- Select any fields on the Pulse step (they are irrelevant for templates) but in the dropdown ‘Is Financial‘ change this to ‘Non-Financial‘
- Select a blank template
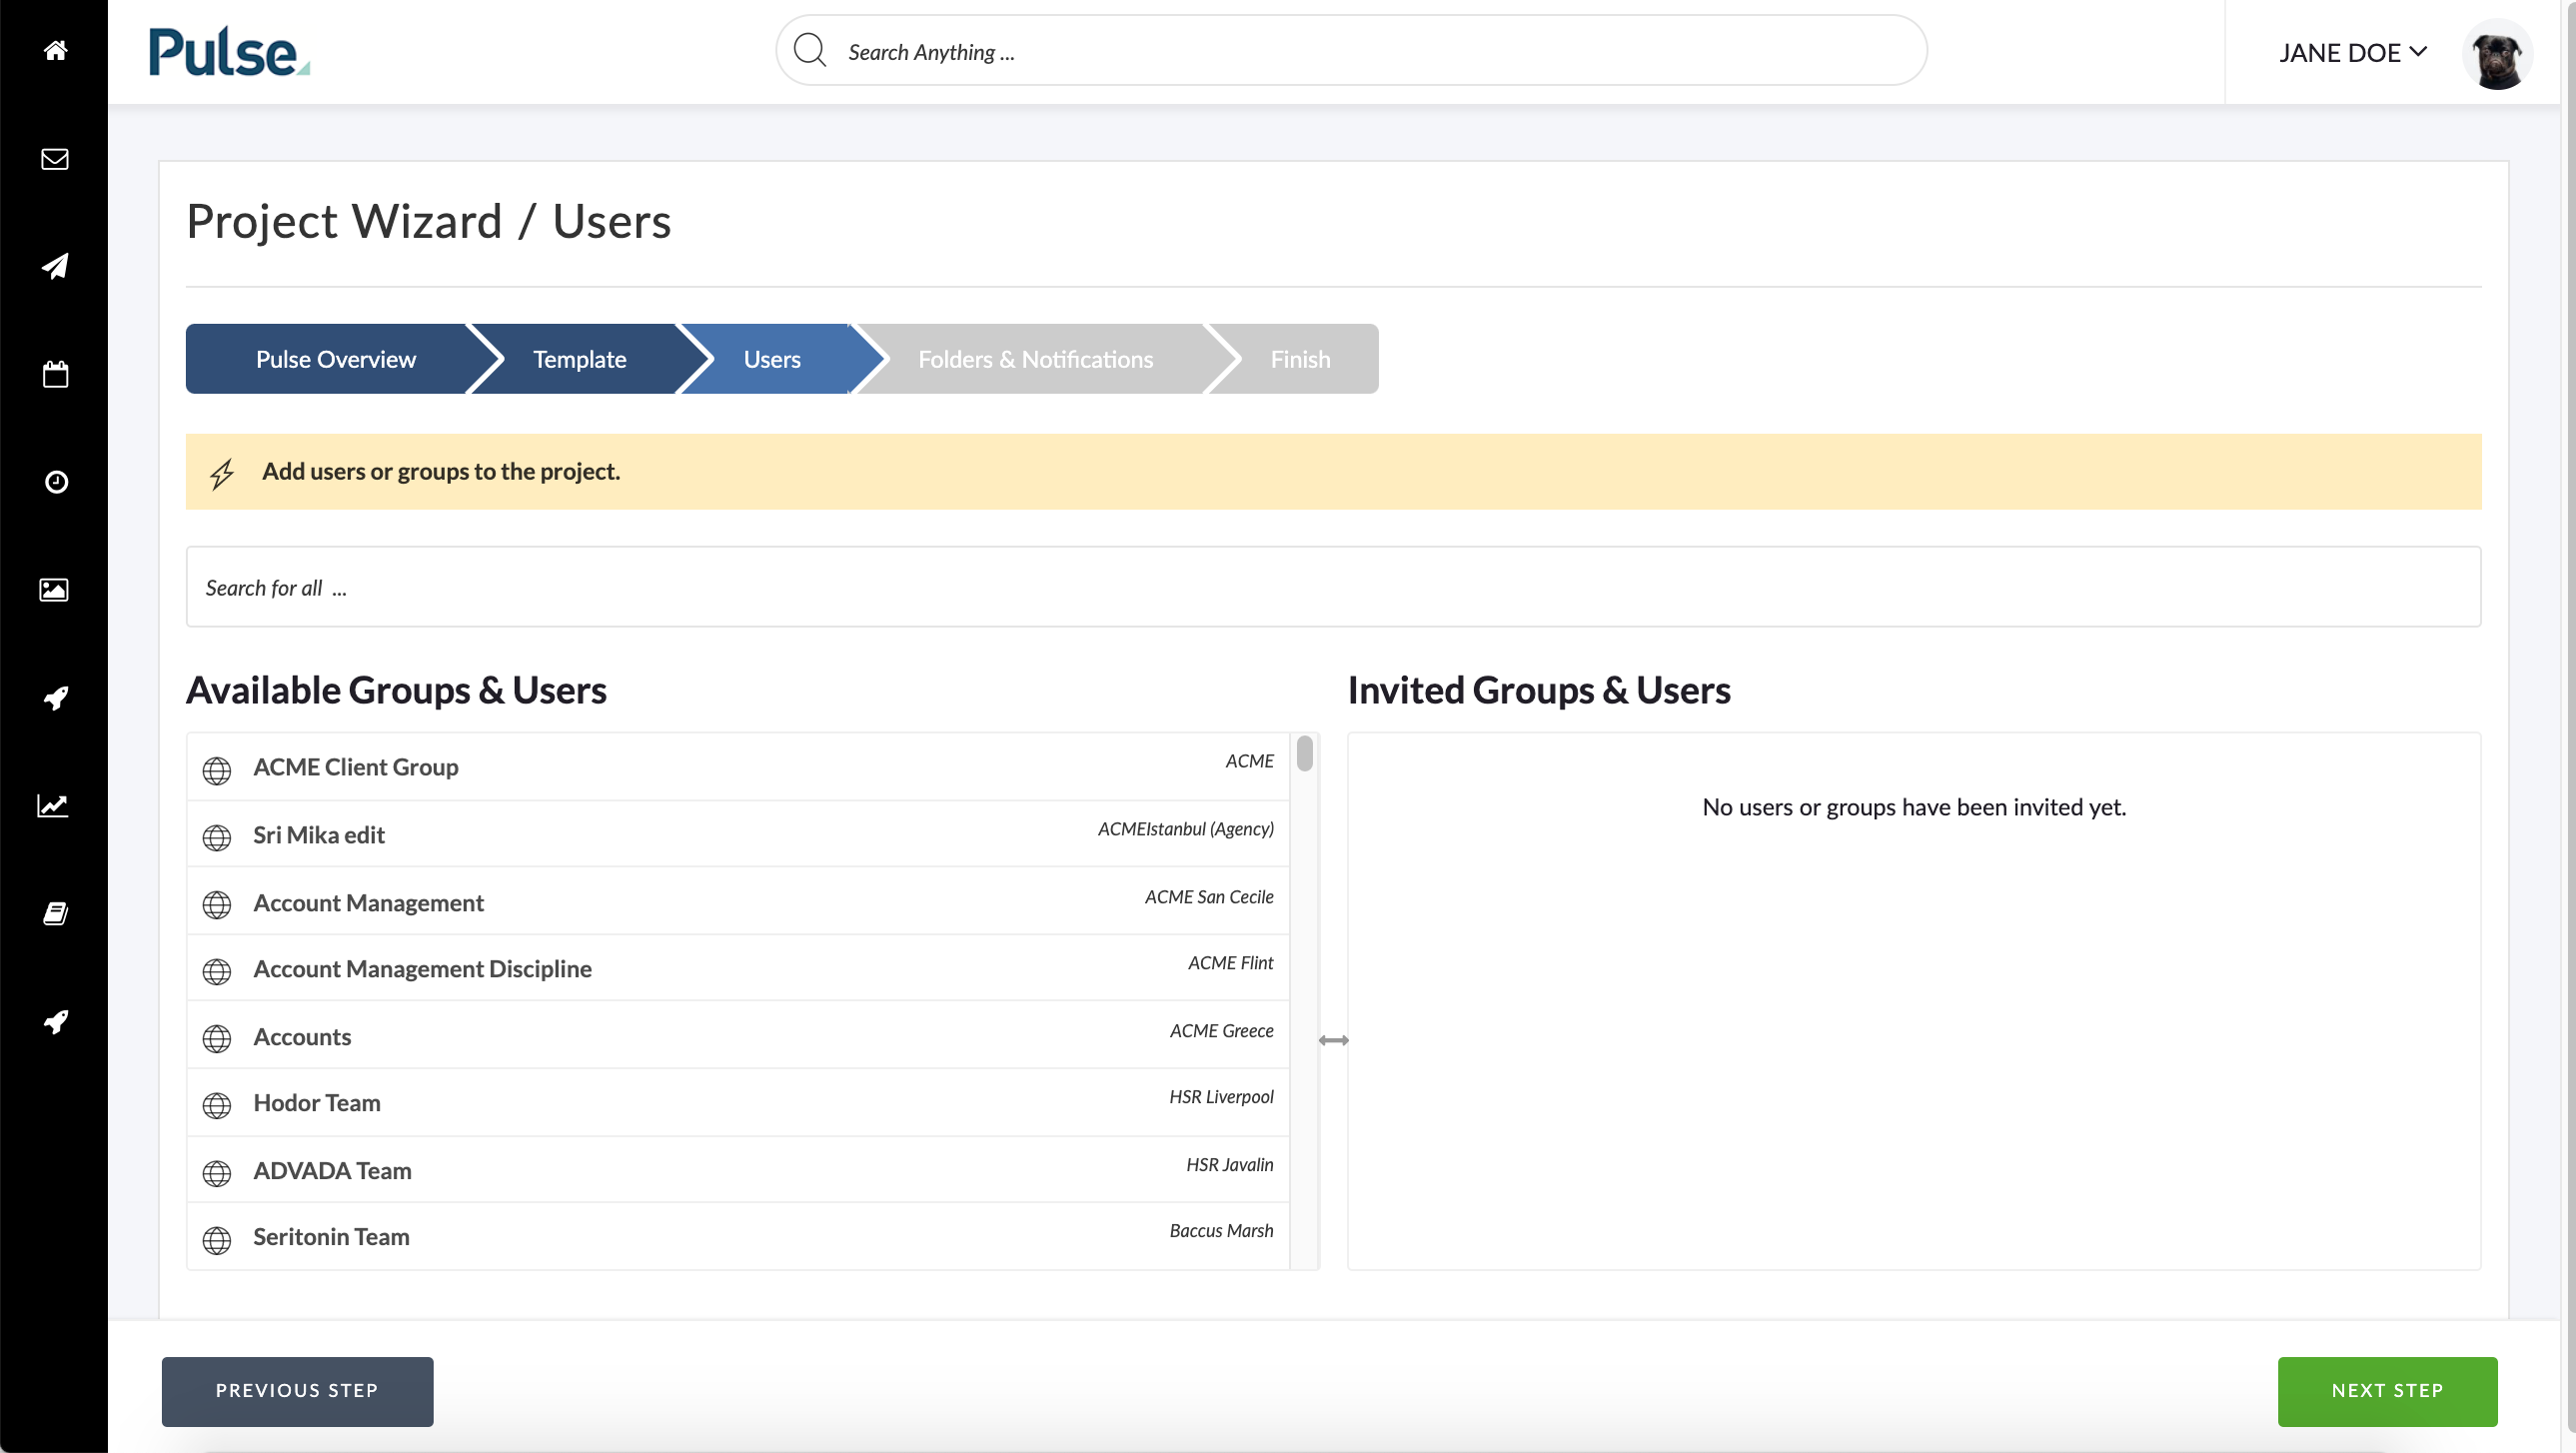
- Don’t invite any users & create the project.
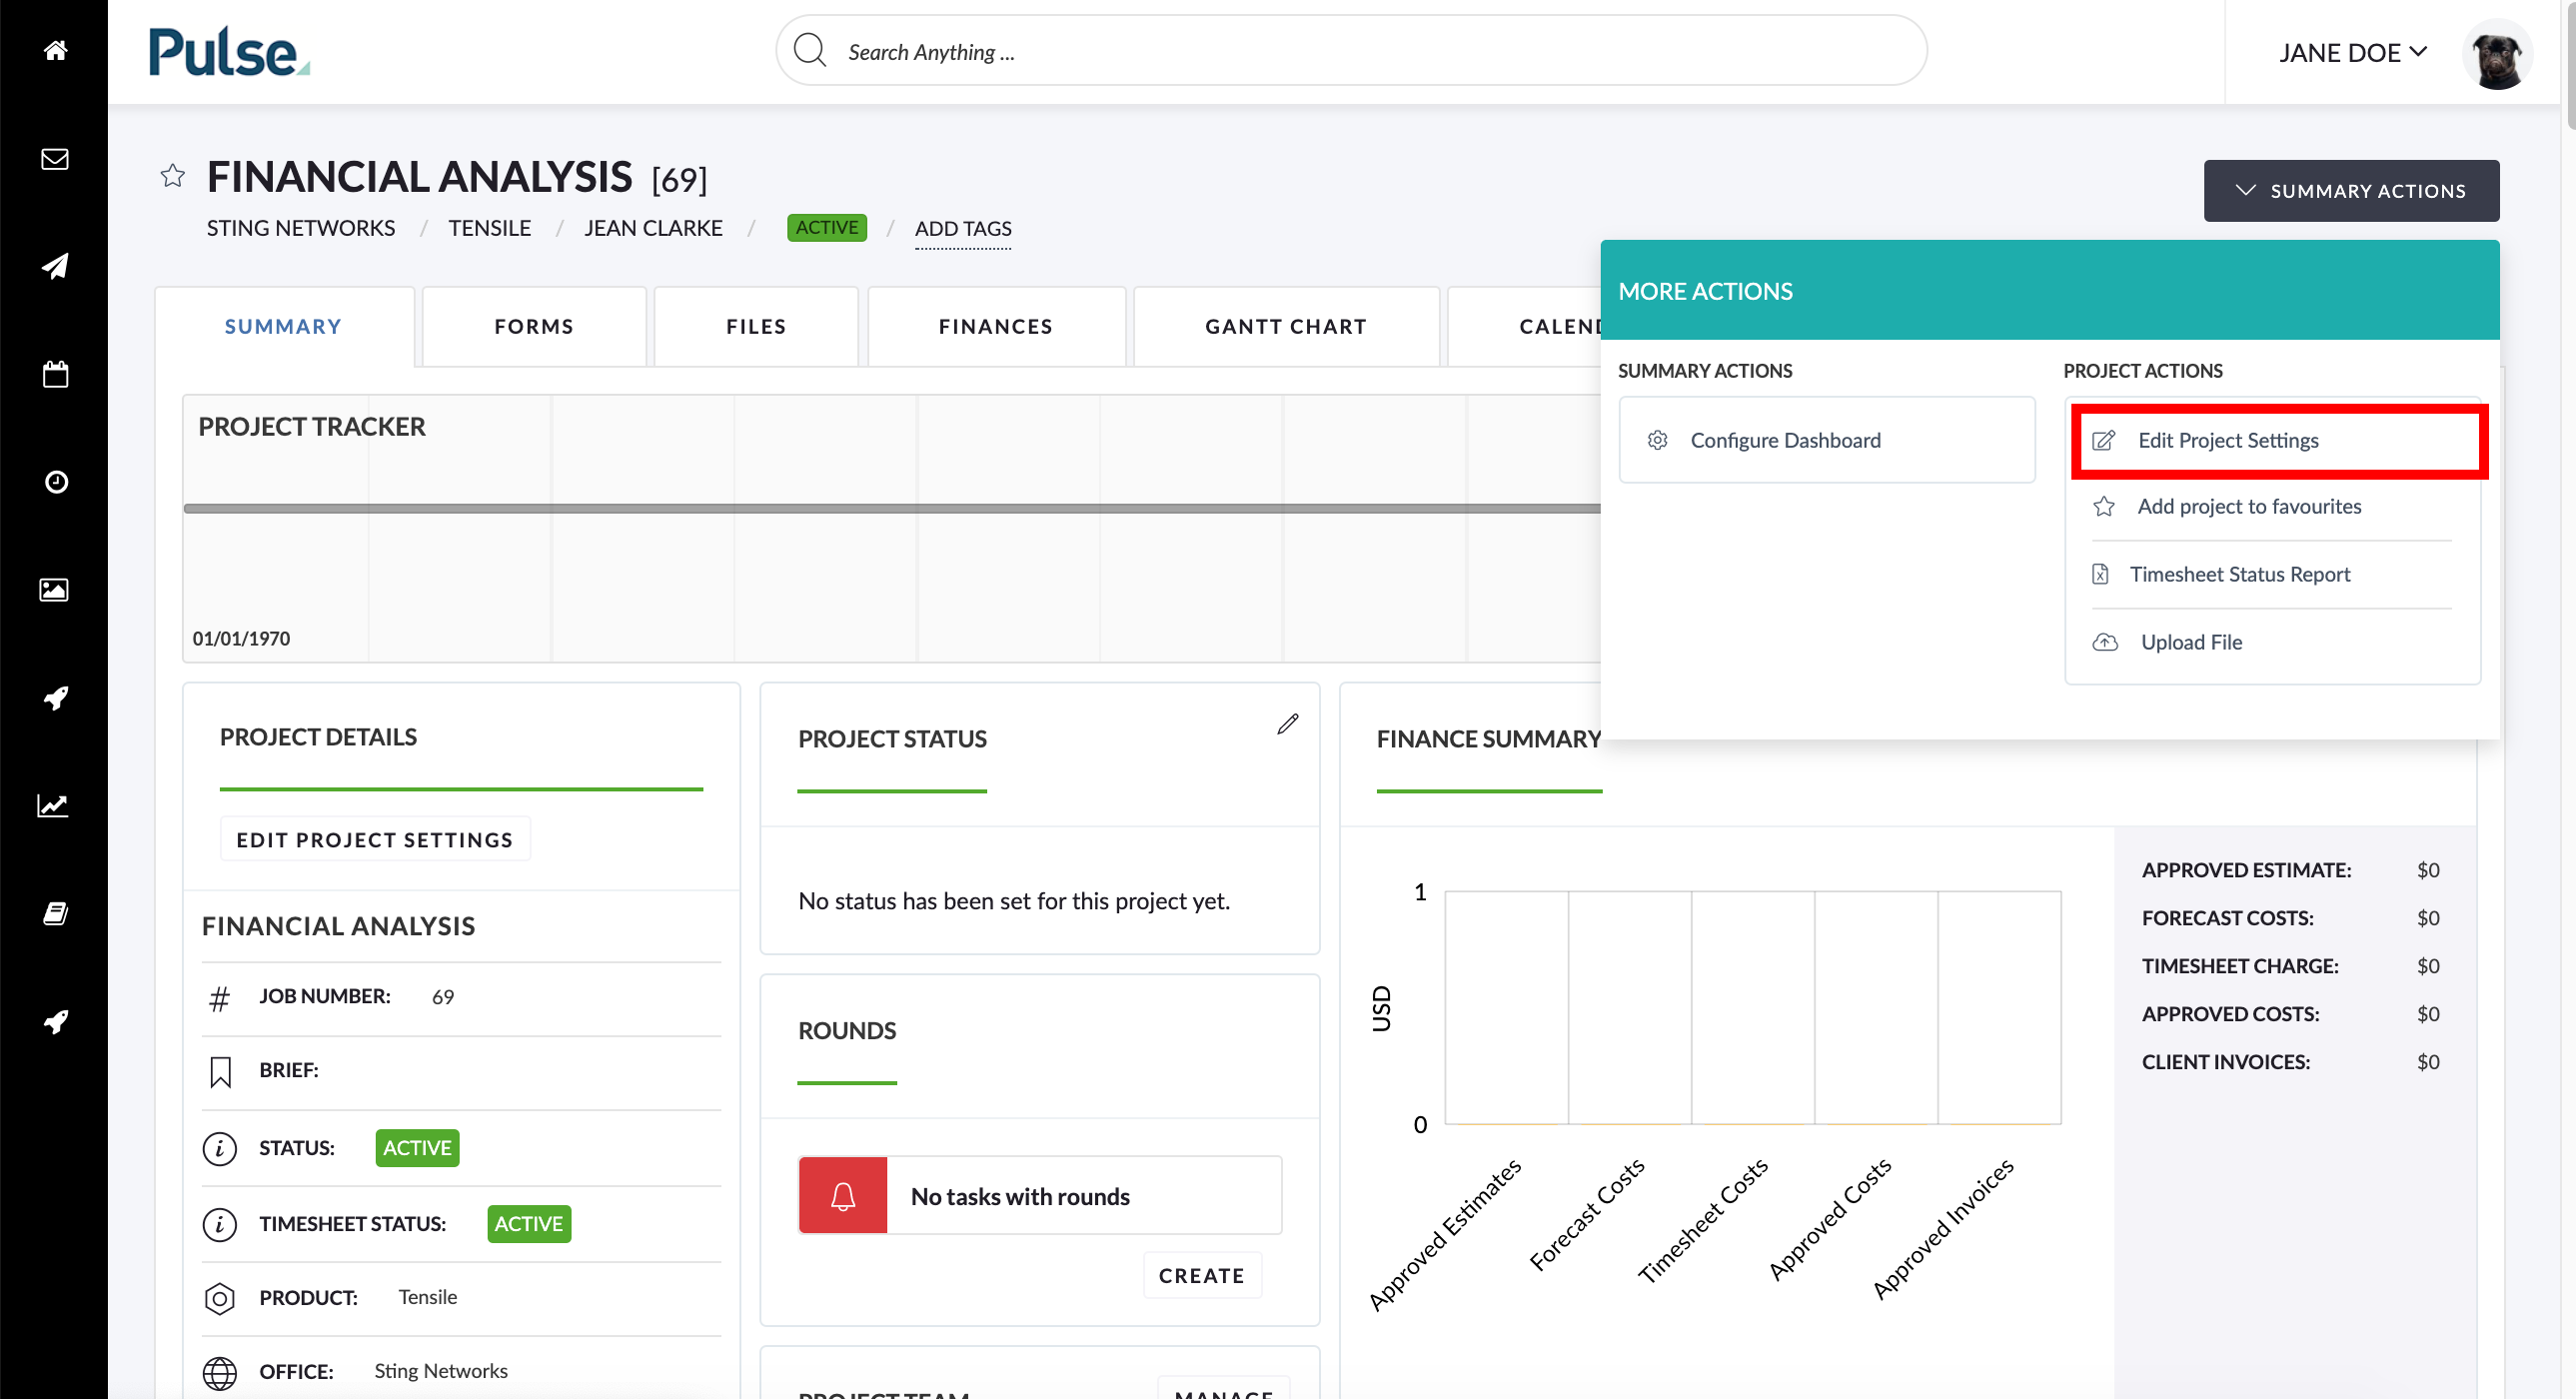
- Once the project is created click the Summary Actions select list > Click ‘Edit Project Settings‘
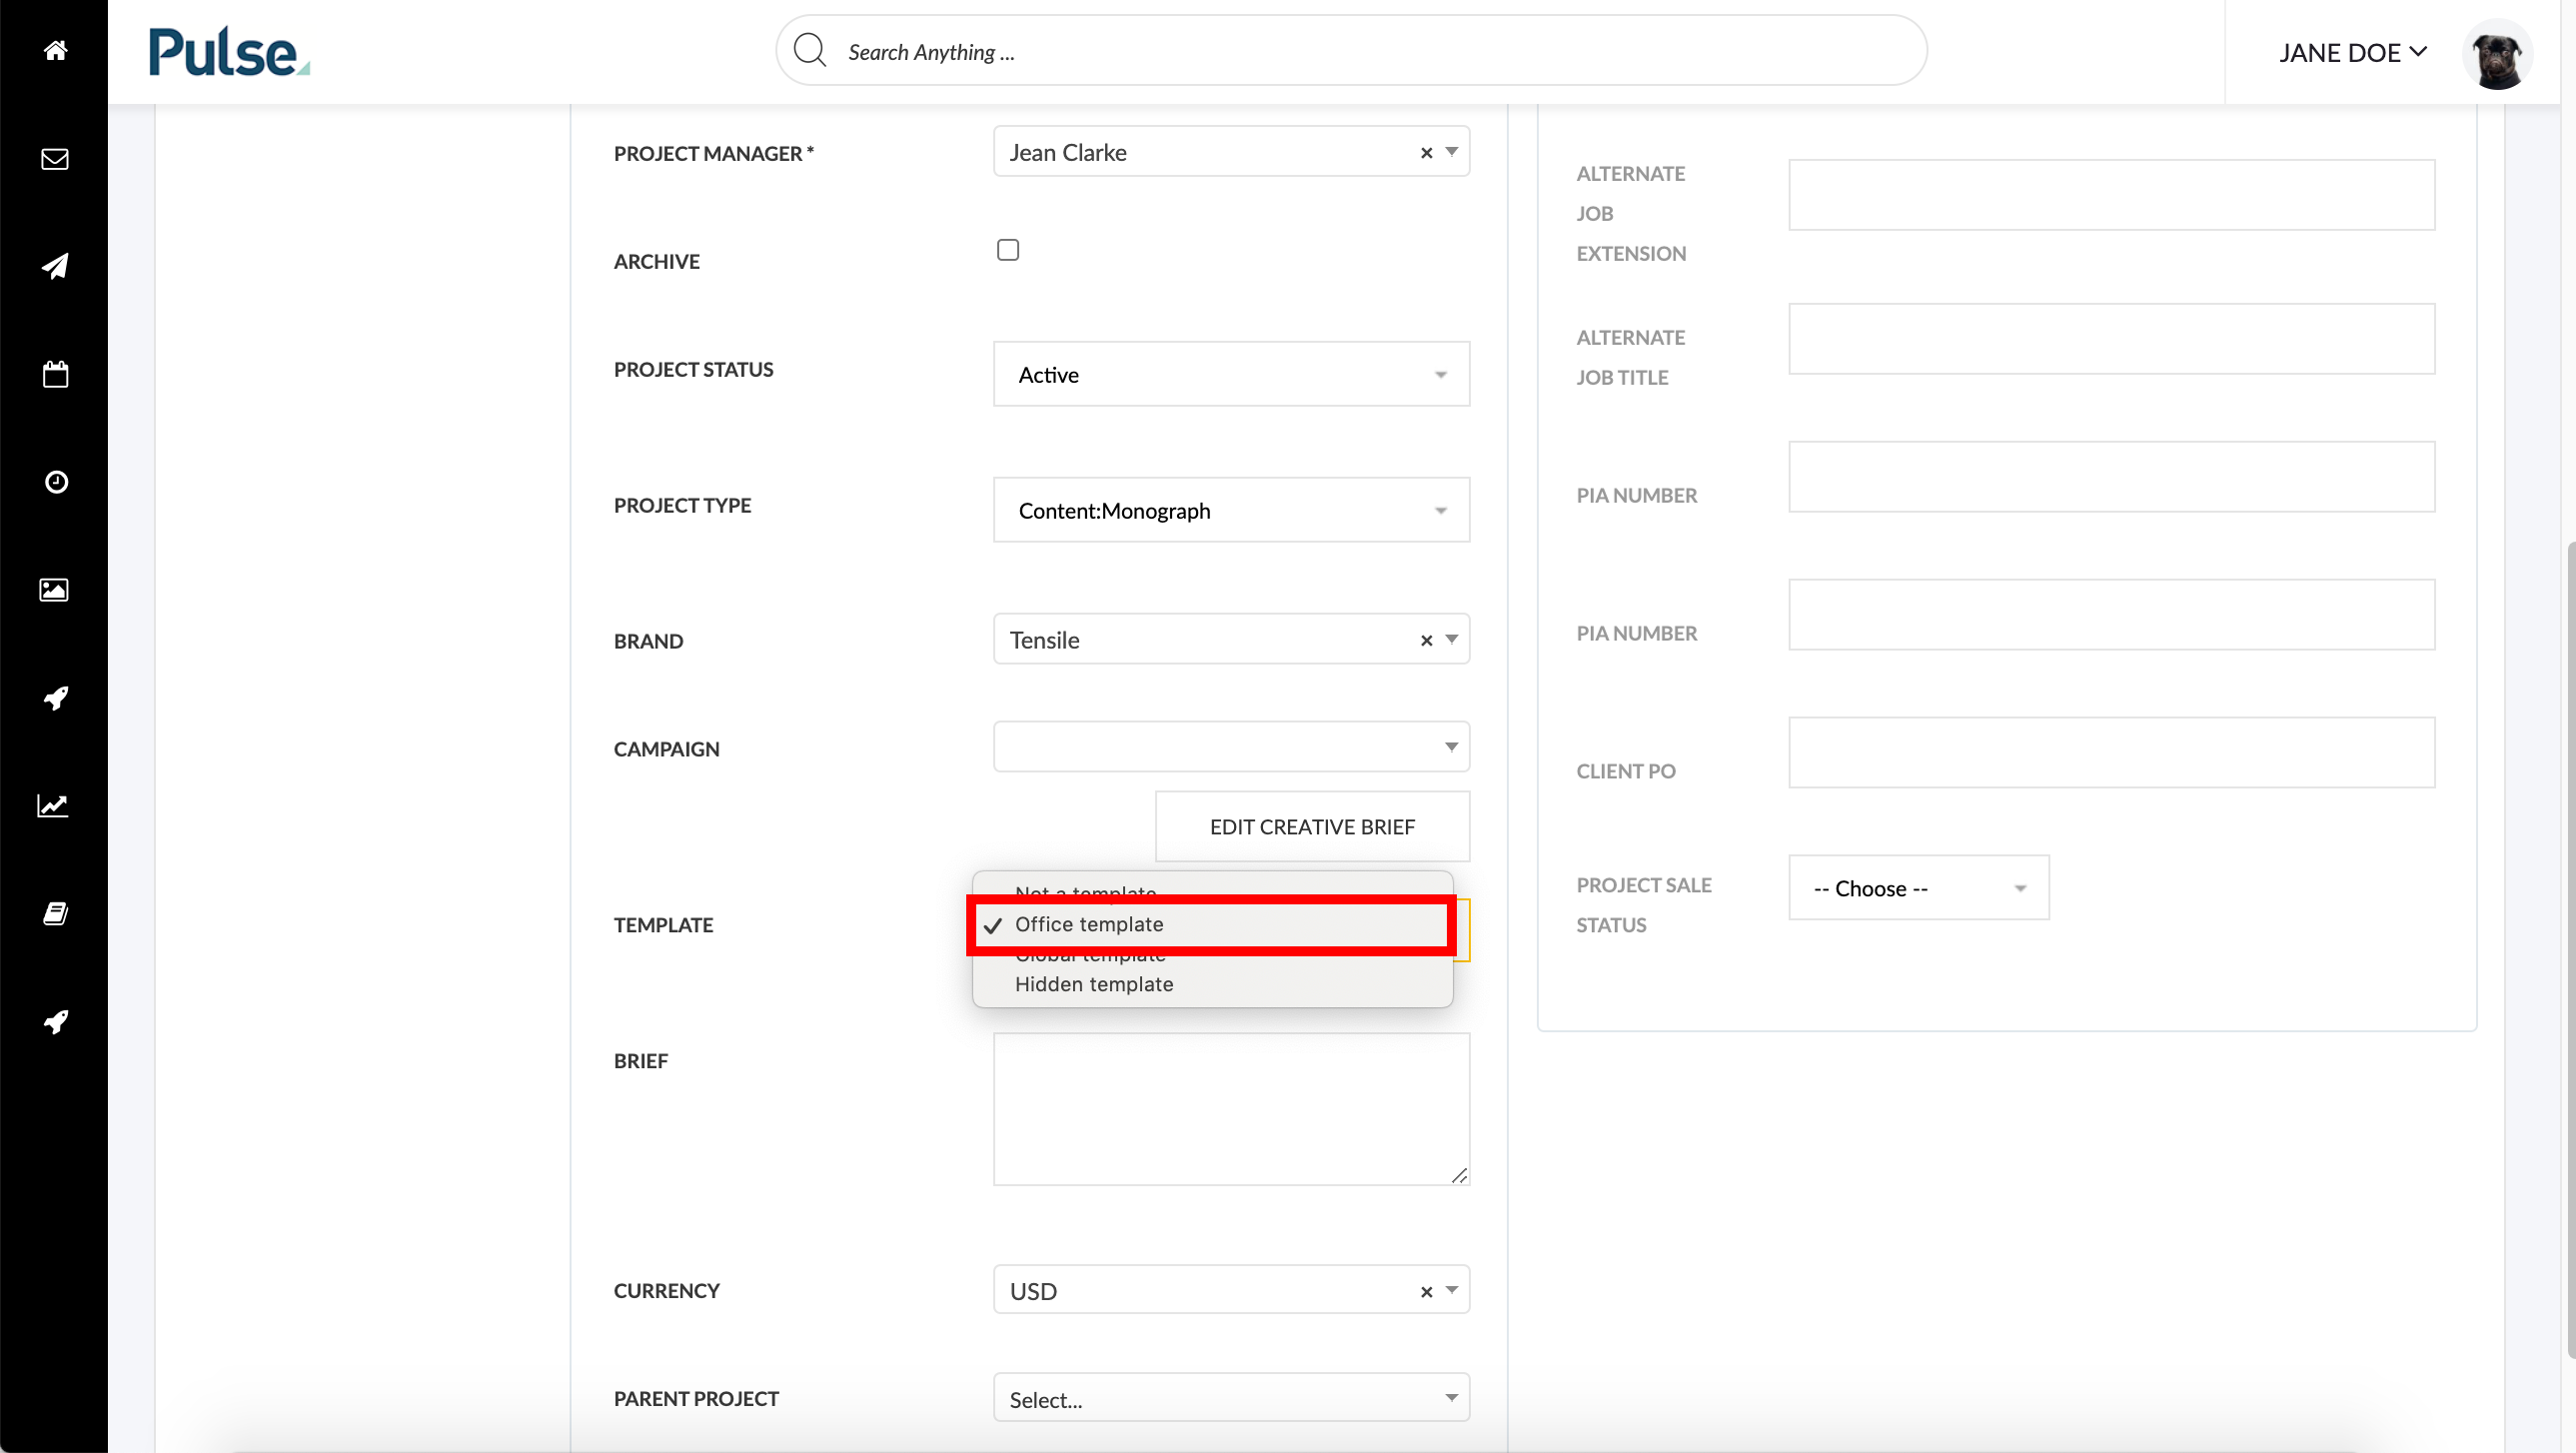
- On edit, there is a field called TEMPLATE, change this to ‘Office Template‘
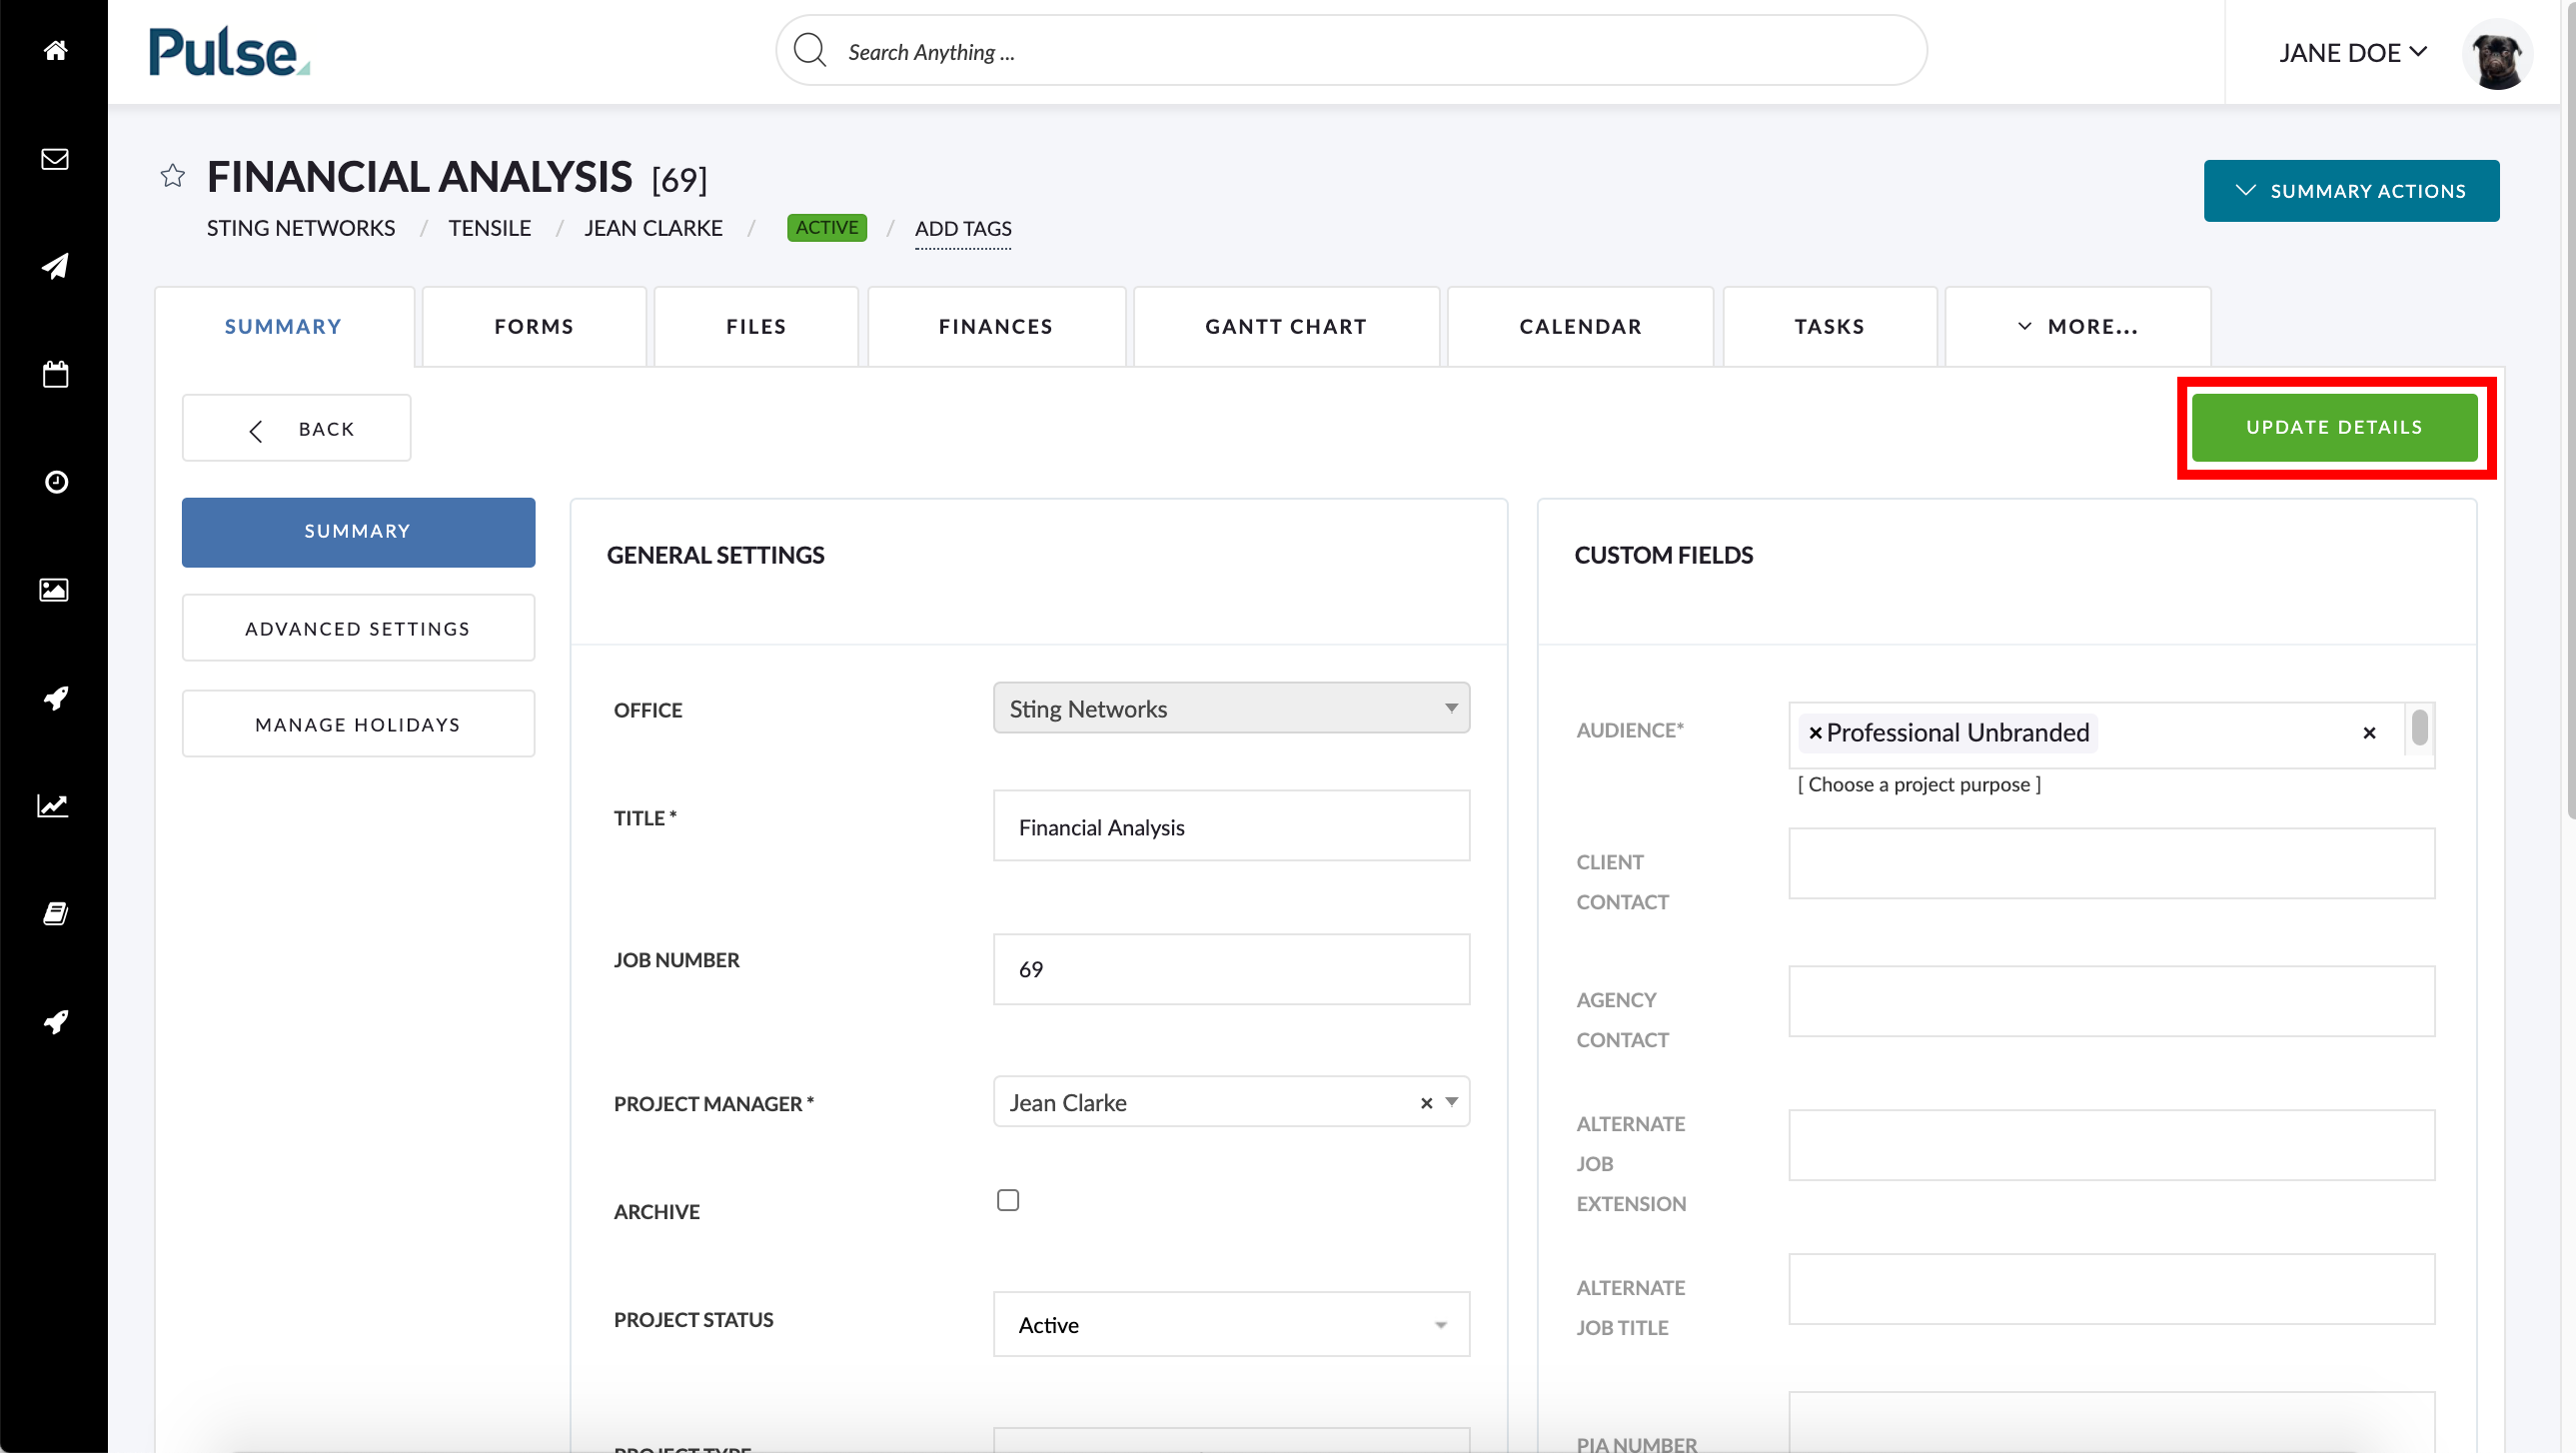
- Click Update Details
Now you have a template!
Tips for templates
- Add Tasks by clicking the ‘Task Tab‘. Set the dates on tasks as they retrospectively set on the Project Start Date selected in the Project Wizard. Use the ‘Advanced’ section to set predecessor relationships for the Gannt Chart.
- Click the Files Tab to create new folders or upload new files to carry through
- On the Project Summary Dashboard click Summary Actions button > Configure Dashboard to change the layout of the dashboard
- On the project summary dashboard click Summary Actions button > Click ‘Edit Project Details‘ > Advanced Settings to disable or enable certain tabs
Example Screens – Project Wizard
1. Locate the ‘Is Financial’ in the “Pulse Overview” step in the Project Wizard.
2. Select the “Non-financial” option in the dropdown
3. Select a blank template
4. Do not Invite Users
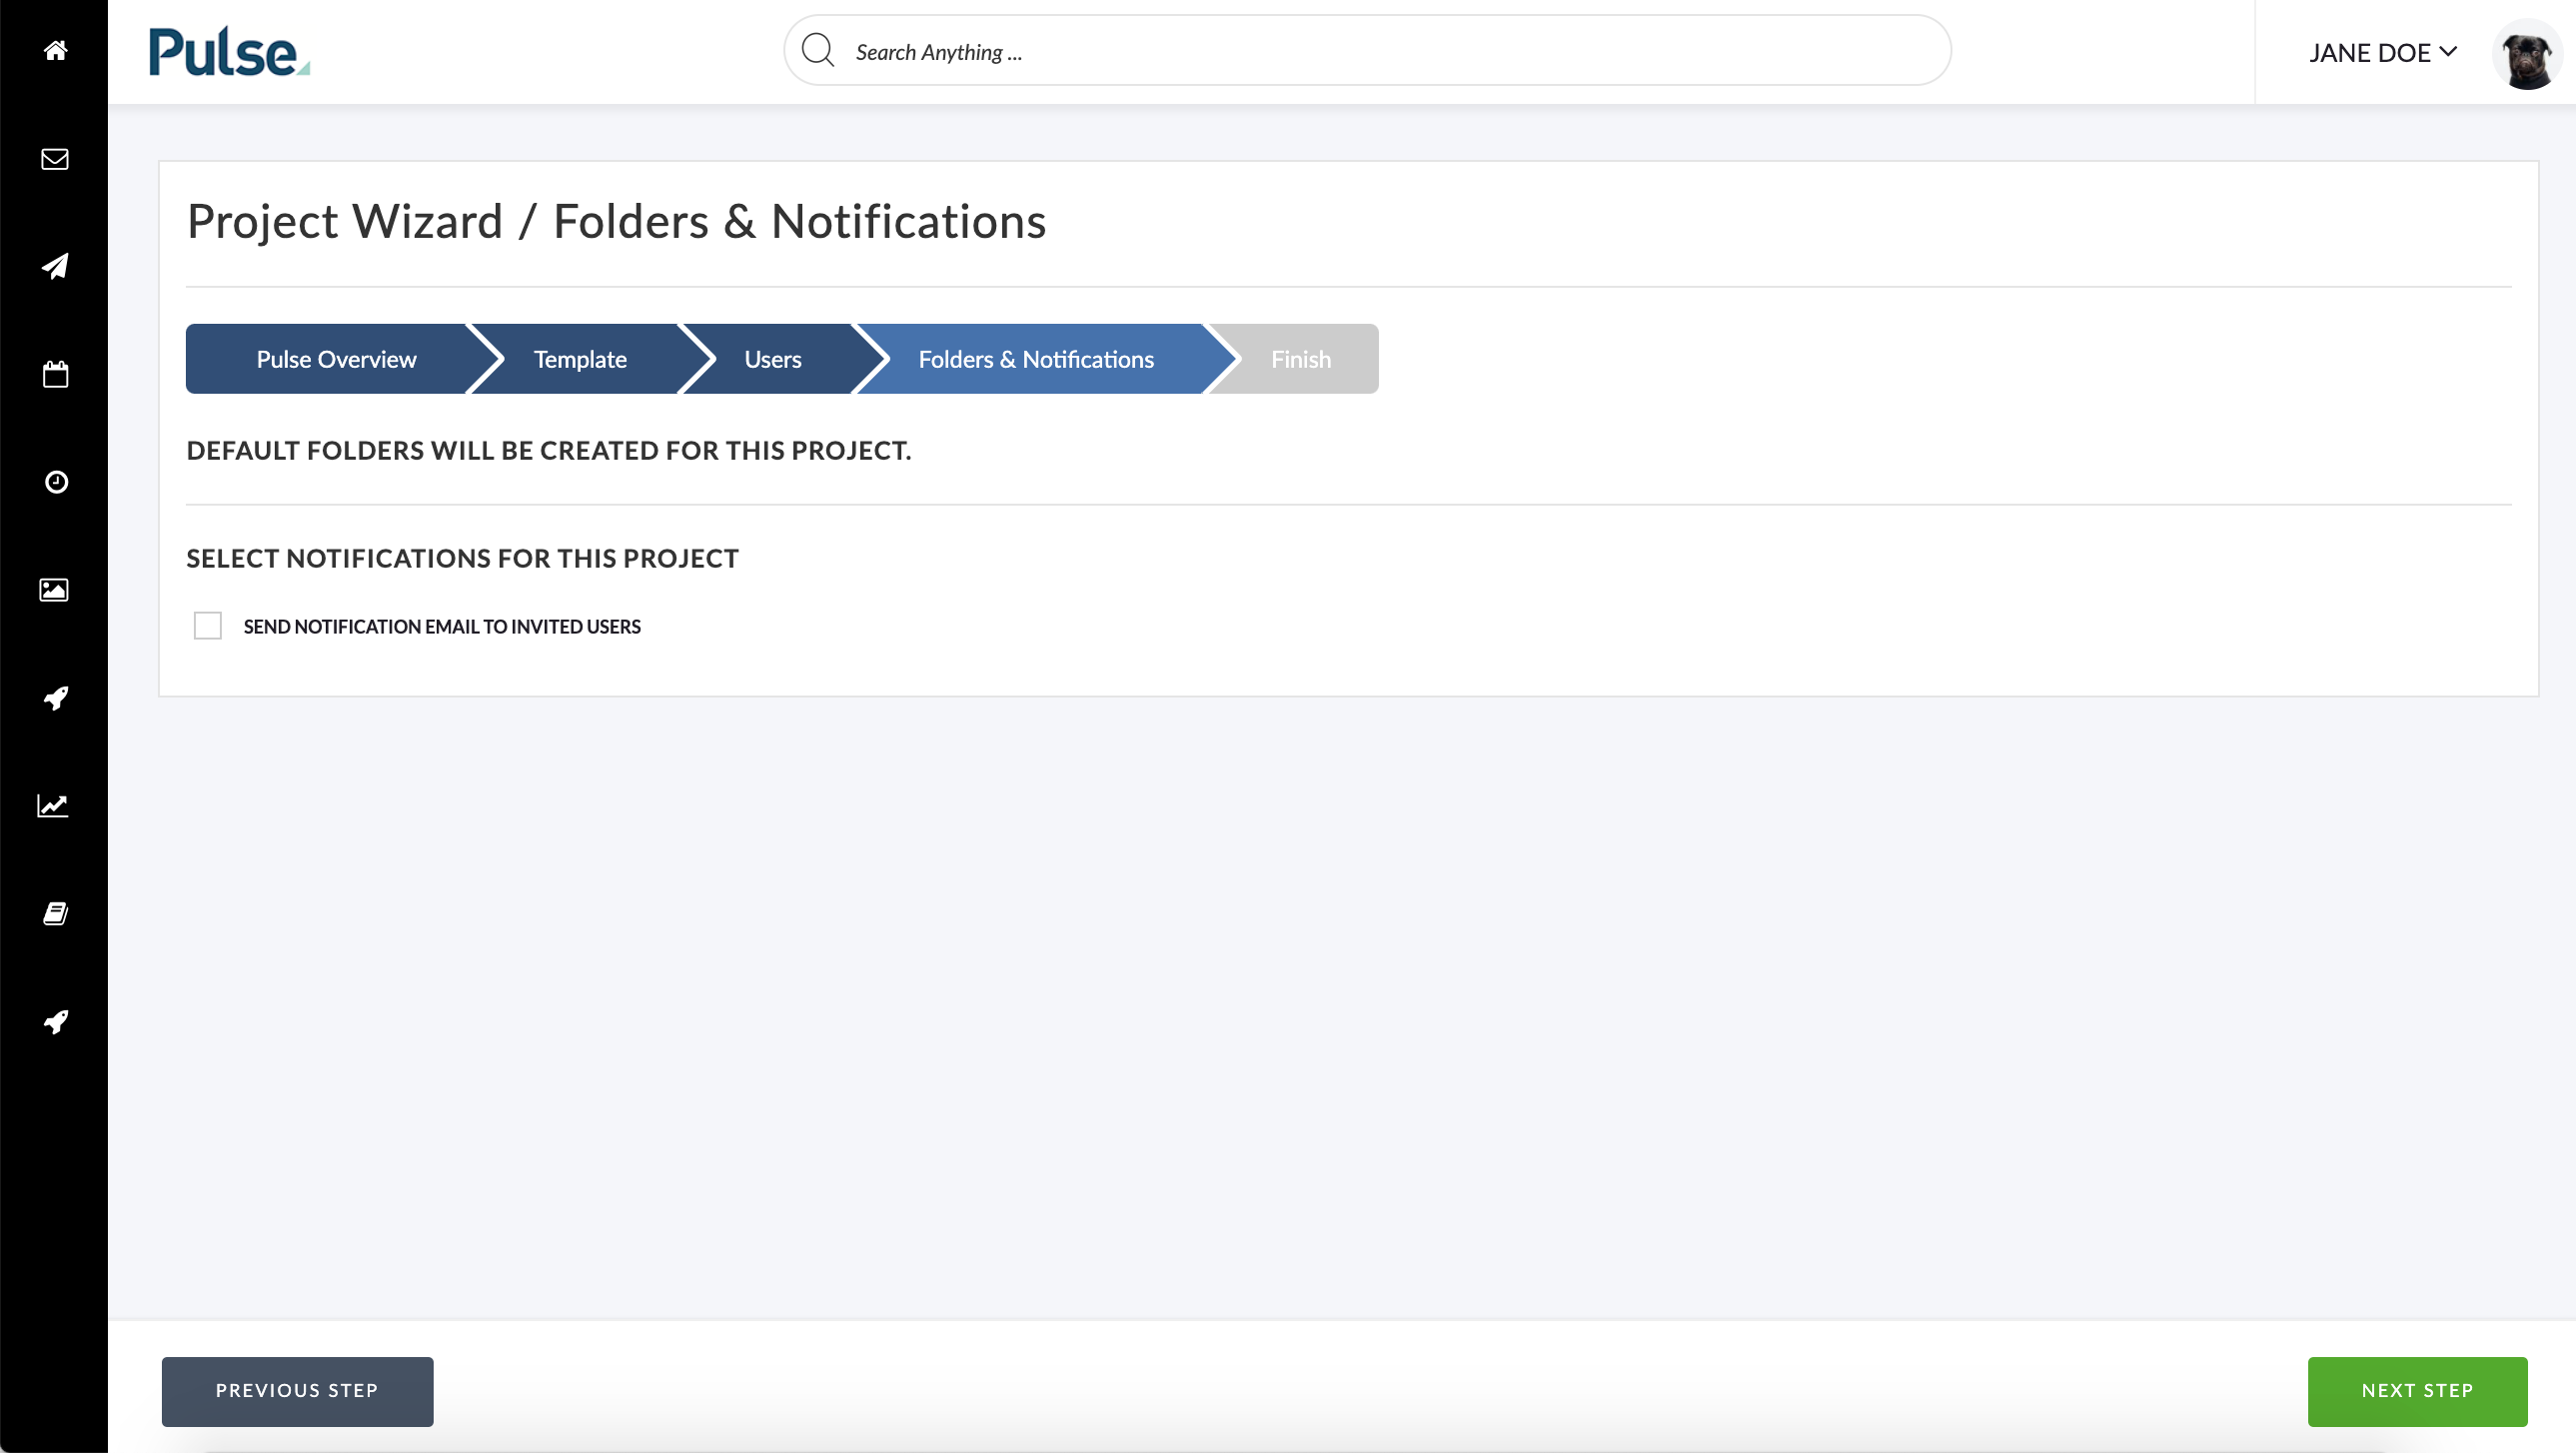
5. Default Folders and do not send Notifications
6. Finish Creating your Project by clicking “Create Project“

7. Go to the Project Summary tab
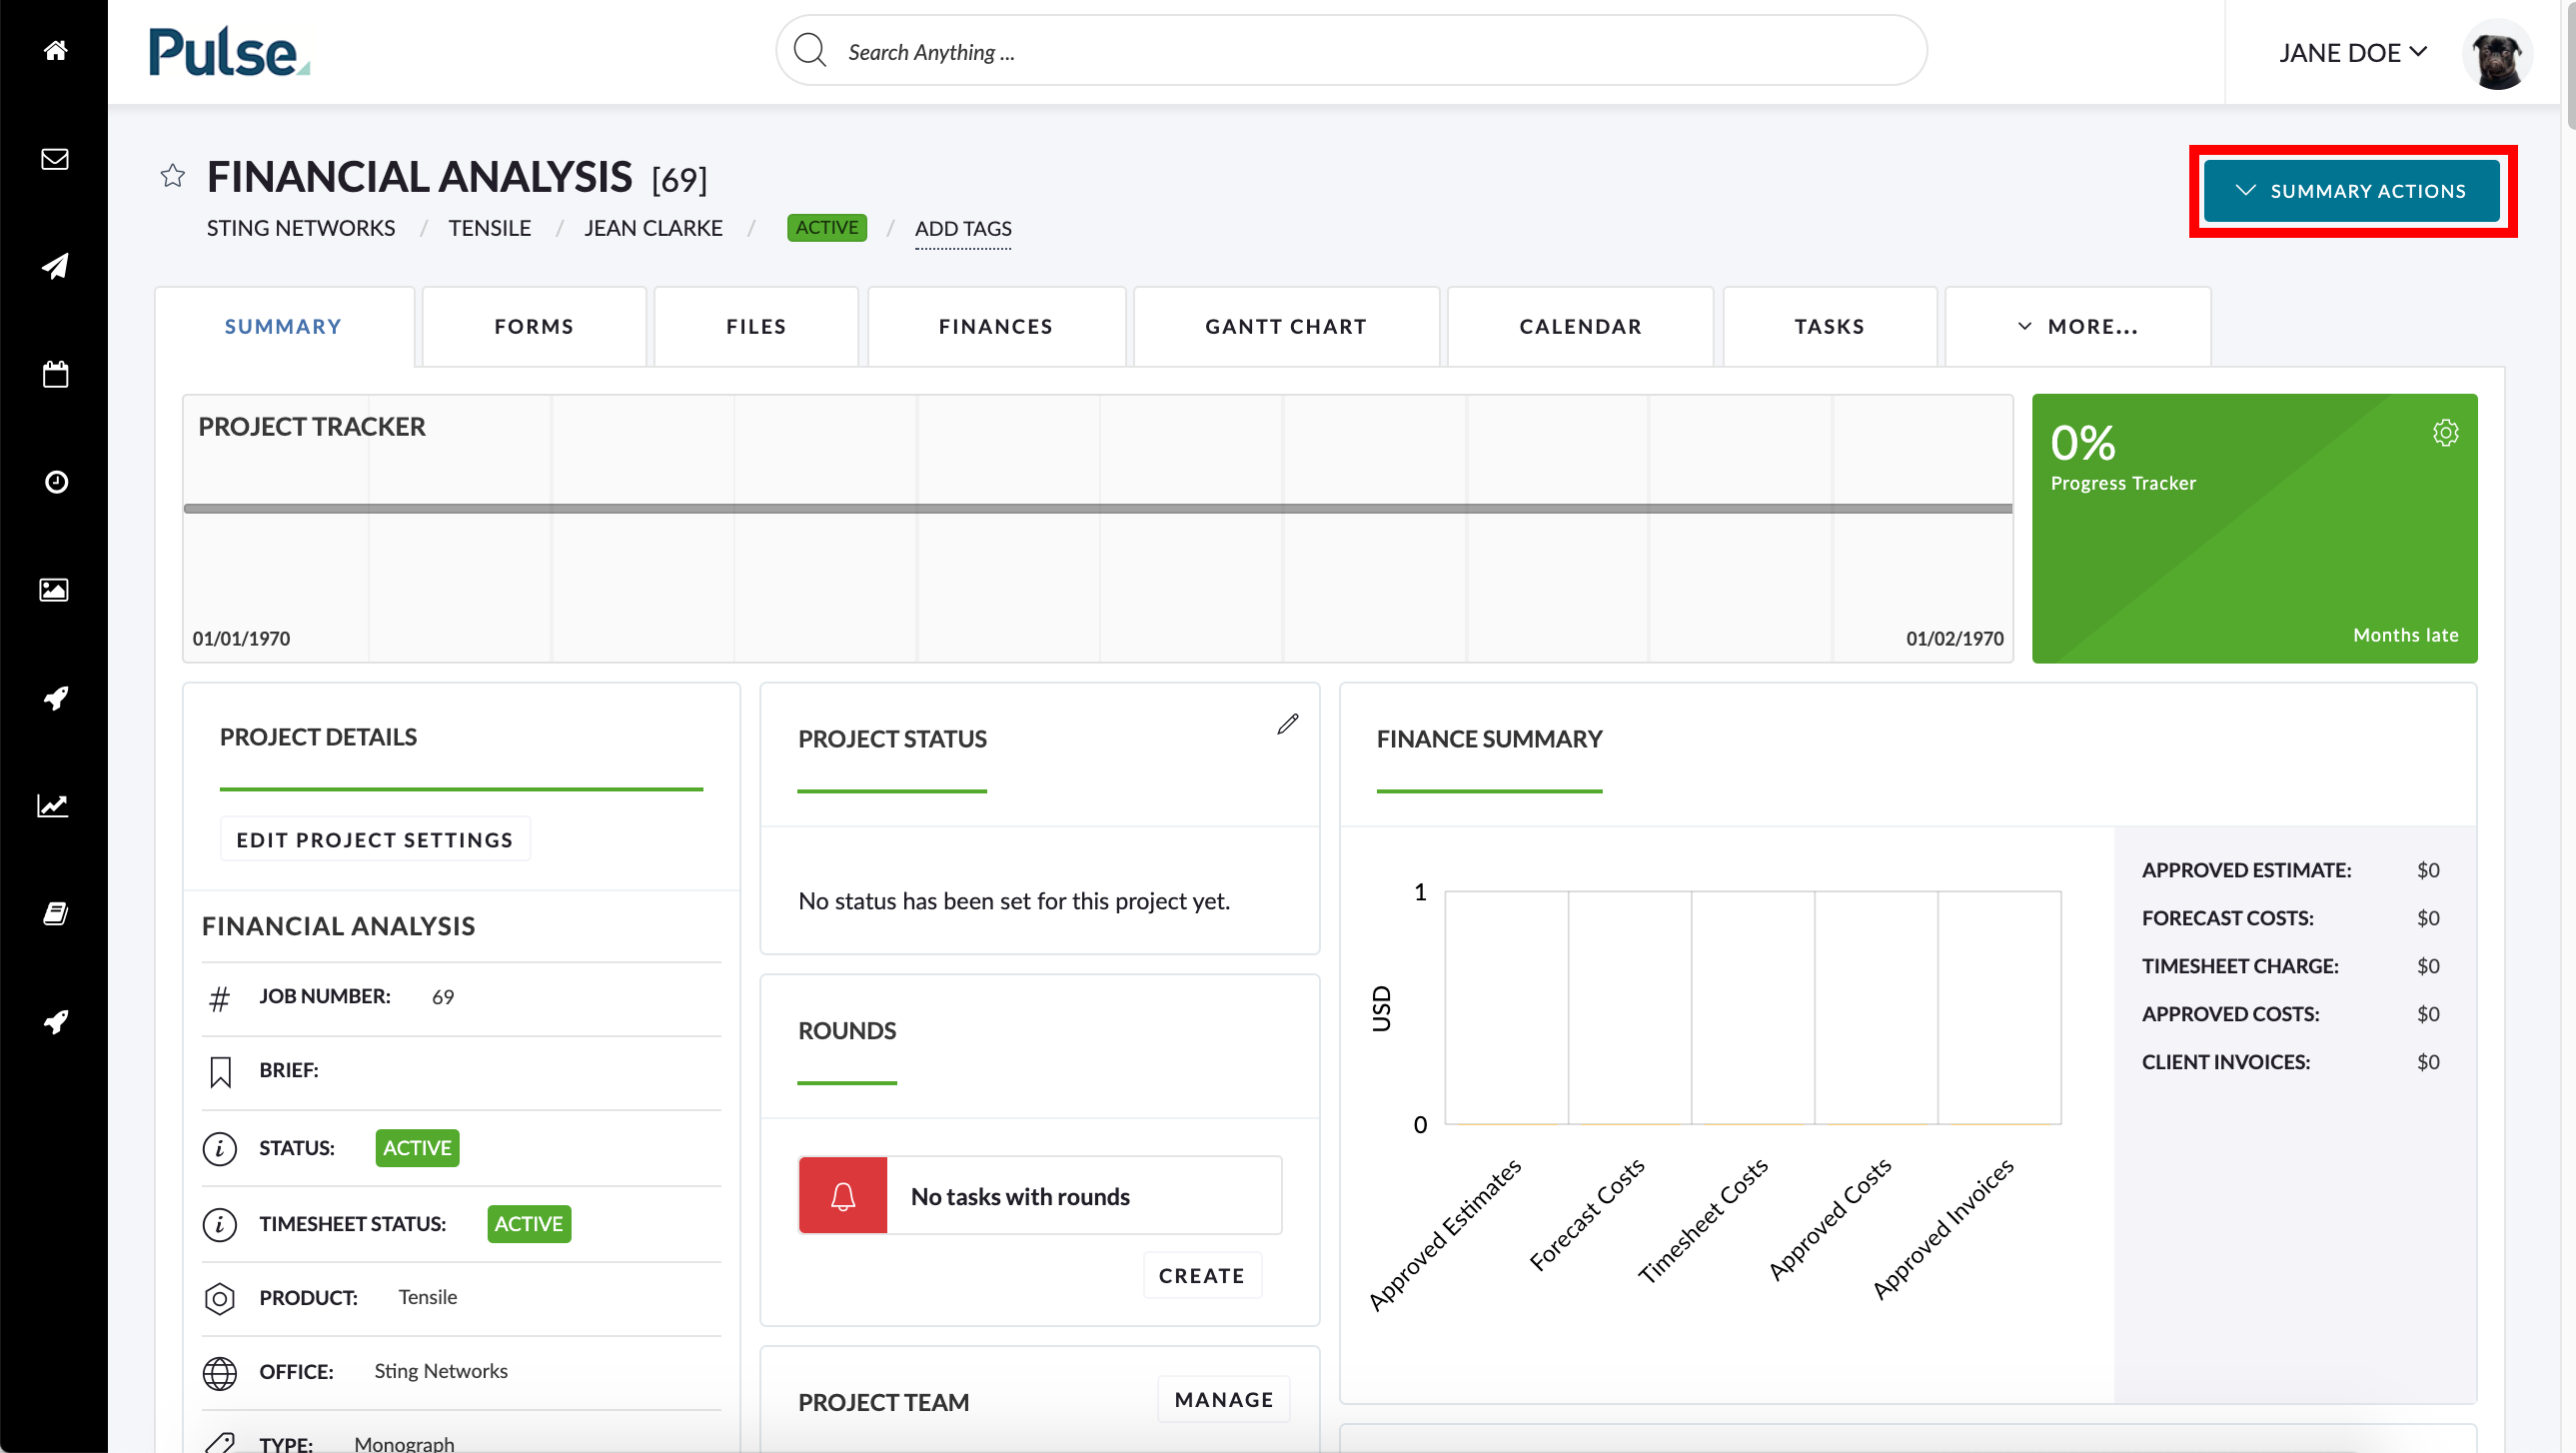
8. Click ‘Edit Project Settings‘ Summary Actions select list
9. Locate field called TEMPLATE
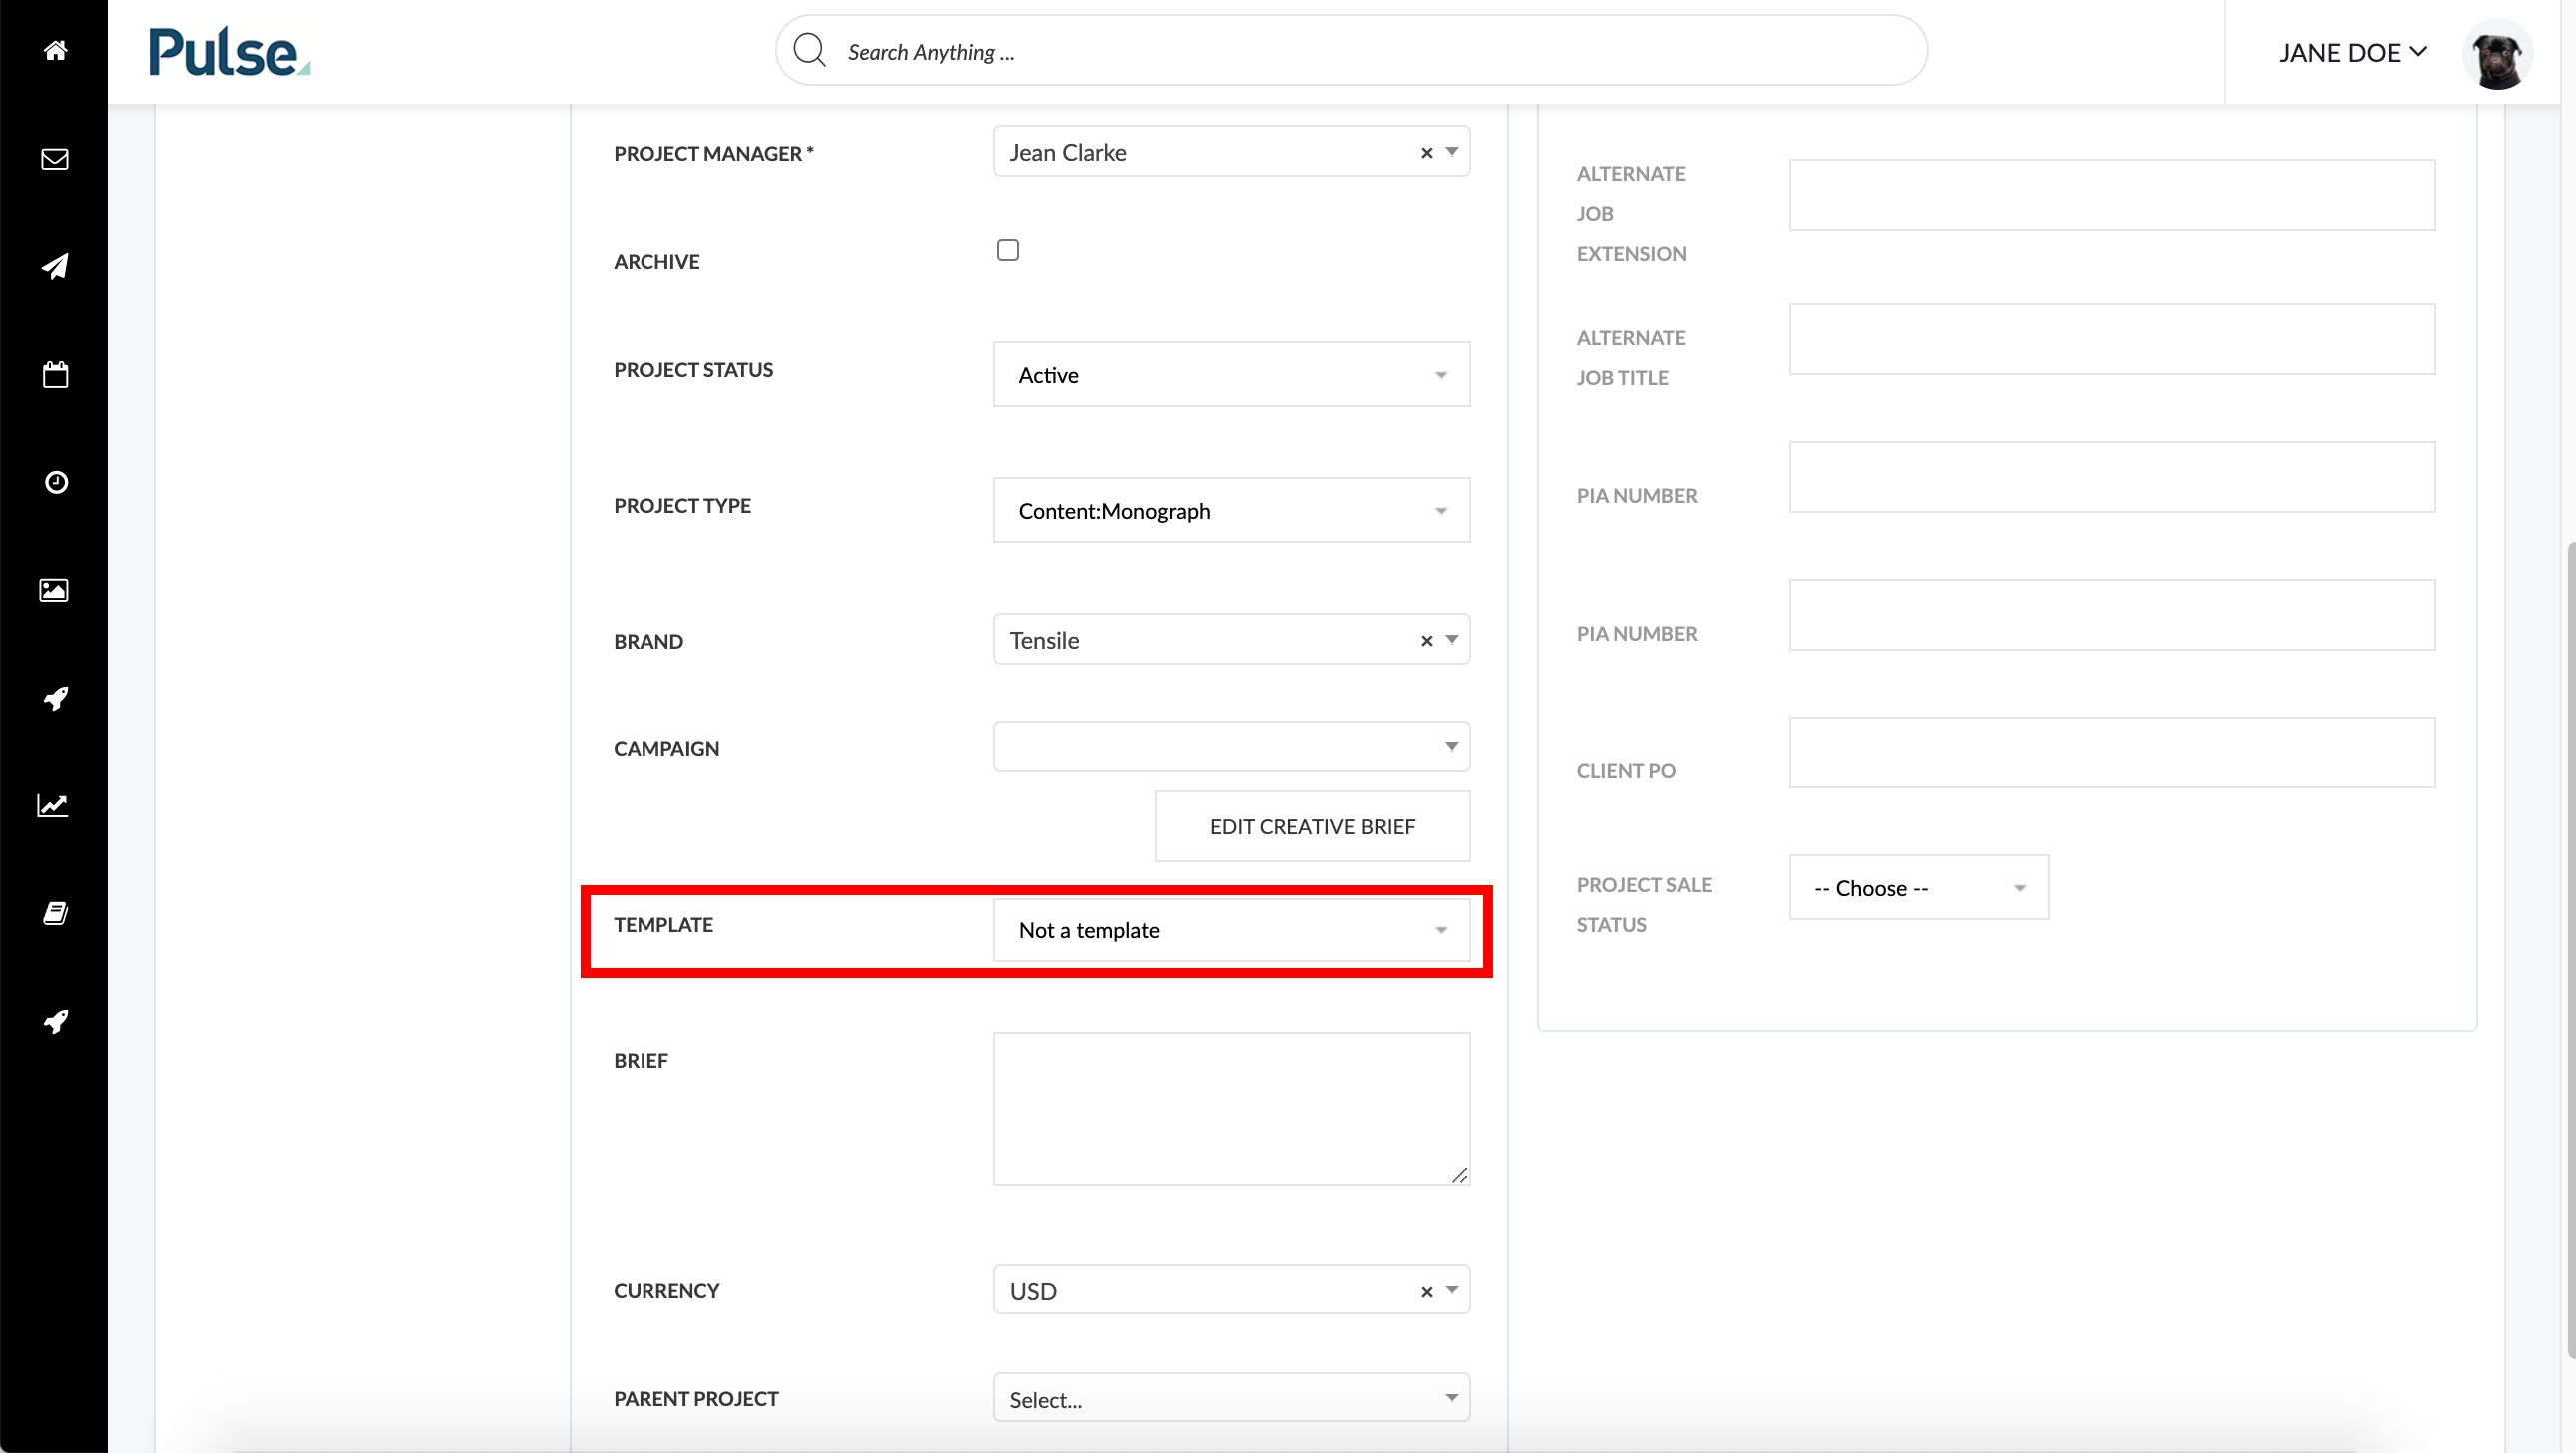
10. Select ‘Office Template’
11. Click ‘Update Details’
KB.43700